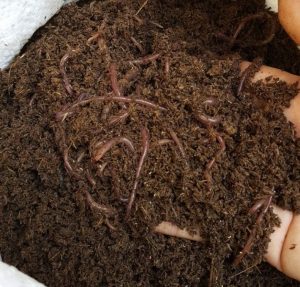
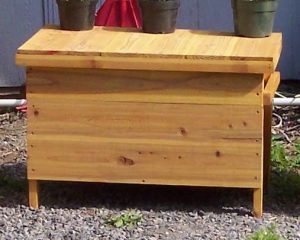
How To Harvest Earthworm is easyer than anything else before you thought before…
When to harvest earthworm
Generally, a worm bin will have produced a significant amount of good vermicompost at between two and three months along in the process. If you wait even longer, like 4-6 months, you’ll have more finished looking vermicompost (it will look more like soil and have more plant-ready nutrients in it).
Tip – Try harvesting early one time, then letting it go for much longer the next time, so that you can see the difference in finished product.
Harvesting Methods –

How To Harvest Earthworm
There are several common ways to separate worms from the vermicompost in your bin.
-
Dump And Sort
It’s just like it sounds! Dump the entire contents of your worm bin down onto a table (you may want to protect the table with a sheet of plastic first.) Put a light bulb above the table (or use natural light.) Now remove any very fresh-looking bedding, and toss it back into the worm bin for the next go-round.Then, make many small mounds of vermicompost. Watch and you’ll see the worms move downward, away from light, and bury themselves in the bedding. After a few minutes, you can remove the outer layer of this mound, and put it in your vermicompost bucket. Again the worms will move downward. Just continue like this until you have many little piles of worms.
-
Worms Sort Themselves
A very simple method indeed. You move all the vermicompost in the bin over to one side, and add fresh bedding to, and begin feeding on, the opposite side. Then,just give the worms time to finish up all the nutrition on the first side (give them a couple of months) and wiggle on over to the fresher bedding and food. The advantage is that it’s really easy; the disadvantage is how long it takes, and that for a period of time, you’re only feeding one half of the bin. -
Divide and Dump
This is simplicity itself! Just harvest two-thirds of the worm bin, leaving one-third for the next batch. Yes, you’ll be harvesting worms with the vermicompost you remove, but that’s ok. When you feed your plants, these worms brought along will, eventually, turn into extra nutrients. The worms left behind will repopulate the bin in a few months’ time. Be aware that your worm bin will process less material while the population of worms is diminished.
Now, if you have invented another method of harvesting worms, please tell us and we’ll publish your story.
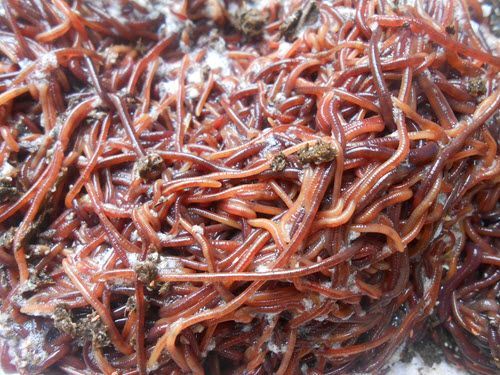
The Benefit of Earthworm in Agriculture
Save The Worms! How To Harvest Earthworm
No matter how hard we hobbyists try to screen our vermicompost, it usually will contain lots of cocoons and baby worms. If you want to try to keep these young worms from being harvested with the vermicompost, and try to hatch the unborn ones, then do the following: place all your vermicompost into one or more large containers, place some attractive food on top, and cover the entire surface with a layer of cardboard. Melon rind is a great attractant to use, though apple cores will also work.
Two ways you can increase the percentage of castings in your vermicompost are by:
-
keeping a high population of worms and
-
making sure that material stays in the worm bin and is worked by worms as long as possible.
Using Your Vermicompost
Your worms have taken your food waste and produced an excellent, all-natural fertilizer. Add vermicompost whenever you plant seeds or move starts outdoors. Simply mix a small amount of it into the planting hole. A quarter cup per small plant will give them a significant boost.
With older plants and houseplants, top dress with vermicompost twice a year. Scratch the surface of the soil to mix it in.
Anphu Earthworm Co., Ltd
5/8 Streest No 15, Binh An Ward, Dist 2, Hochiminh City – Vietnam
Tel: 8498.3346179 – Fax: 8428-62810261
Email: wormvns@gmail.com
Zalo: +840983346179

